No-Fail Chocolate Covered Pretzels: The Trick to Perfect Coating Every Time
Craving that irresistible crunch of a salty pretzel perfectly enrobed in smooth, sweet chocolate? You're not alone! Chocolate covered pretzels are a beloved classic, offering an addictive sweet-and-salty symphony that’s incredibly versatile. They make fantastic homemade gifts, dazzling party favors, or simply a comforting treat for a quiet evening. But while they seem simple, many home bakers encounter frustrating pitfalls: streaky chocolate, a coating that melts at room temperature, or even chocolate that inexplicably seizes up. If you’ve ever wondered how to achieve that professional, glossy finish with a satisfying snap, you've come to the right place. The secret to truly no-fail chocolate covered pretzels lies in one crucial technique:
tempering your chocolate. And don't worry – it’s far easier than it sounds!
Why Your Chocolate Covered Pretzels Might Be Failing (And How to Fix It)
It’s disheartening to put effort into making a treat, only for the chocolate to look dull, feel soft, or worse, become a crumbly mess. Understanding why these issues occur is the first step to conquering them.
The Common Pitfalls: Seizing, Streaks, and Softness
*
Chocolate Seizing: This is perhaps the most frustrating problem. One moment your chocolate is smooth and flowing, the next it’s a stiff, grainy, unworkable mess. The culprit? Even a tiny drop of water. Chocolate and water are natural enemies, as water causes the cocoa solids to clump together irreversibly.
*
Streaky or Dull Finish: Instead of a beautiful, uniform sheen, your hardened chocolate might appear streaky, splotchy, or lack luster. This often happens when the chocolate cools too slowly or unevenly, preventing the cocoa butter crystals from forming a stable, aesthetically pleasing structure.
*
Melting at Room Temperature: Your gorgeous creations might start to soften or melt the moment they’re left out of the fridge. This indicates that the chocolate hasn't set properly, meaning the cocoa butter crystals aren't stable enough to maintain their solid form at comfortable room temperatures.
The Game-Changer: Understanding Chocolate Tempering
These common problems all point to one underlying issue: improperly handled chocolate. The magic solution is
tempering. Tempering chocolate isn't about simply melting it; it's a controlled process of heating and cooling that encourages the cocoa butter crystals within the chocolate to align into a stable, uniform structure. When chocolate is properly tempered, it will:
* Harden quickly and evenly.
* Have a beautiful, glossy sheen.
* Possess a satisfying "snap" when broken.
* Stay firm and stable at room temperature, resisting fingerprints and melting.
If you’re looking for even more in-depth knowledge on achieving this perfect finish, be sure to check out our article on
Secrets to Shiny, Snap-Perfect Chocolate Covered Pretzels.
Mastering the Art of Tempering: Your Path to Perfection
Tempering might sound intimidating, but with the right technique and a few key tools, it’s surprisingly straightforward. Forget double boilers that risk water contamination; the microwave method is a game-changer for home bakers.
Choosing the Right Chocolate for Success
The quality of your chocolate directly impacts the final result. This isn't the time for compromise.
*
Avoid Chocolate Chips: While convenient for cookies, chocolate chips often contain stabilizers (like soy lecithin) that make them resistant to melting and difficult to temper properly. They won't give you that smooth, snappy finish.
*
Opt for High-Quality Baking Bars: Choose good quality chocolate bars or blocks designed for baking. Brands like Ghirardelli, Callebaut, Valrhona, or Baker's chocolate are excellent choices. They have a higher cocoa butter content which is essential for proper tempering.
*
Any Type Works: Whether you prefer dark, milk, semi-sweet, or white chocolate, the tempering principles remain the same. Just be aware that each type has slightly different ideal working temperatures.
Essential Tools and Prep for Tempering
Before you start, gather your equipment and prepare your workspace:
*
Instant-Read Thermometer: Absolutely critical for accurate temperature control. Do not skip this!
*
Microwave-Safe Bowls: Glass or ceramic bowls work best.
*
Rubber Spatula: For stirring.
*
Parchment Paper or Silicone Mats: For setting your pretzels.
*
Mini Pretzels: Or pretzel rods, depending on your preference.
*
Immaculate Dryness: Ensure all your bowls, spatulas, and utensils are *completely* dry. Even a single drop of water can ruin your chocolate.
Step-by-Step Microwave Tempering (The Seeding Method)
This method involves melting two-thirds of your chocolate, then using the remaining one-third (the "seed" chocolate) to cool it down to the ideal working temperature while encouraging proper crystal formation.
1.
Finely Chop Your Chocolate: Roughly chop two-thirds of your chosen baking chocolate into small, uniform pieces. This helps it melt more evenly and prevents overheating. Leave the remaining one-third in small chunks or wafers.
2.
Initial Melt (2/3 of Chocolate): Place the finely chopped chocolate into a microwave-safe bowl. Microwave on 50% power in 30-second intervals, stirring thoroughly after each interval. Continue until the chocolate is mostly melted and smooth, reaching a temperature of:
*
Dark Chocolate: 115-120°F (46-49°C)
*
Milk/Semi-Sweet Chocolate: 110-115°F (43-46°C)
*
White Chocolate: 105-110°F (40-43°C)
Remember to stir well after each interval to distribute the heat and prevent scorching.
3.
Seed and Cool (Add Remaining 1/3): Once the chocolate reaches its target melting temperature, remove it from the microwave. Immediately add the remaining one-third of your un-melted, finely chopped chocolate (the "seed" chocolate) to the bowl.
4.
Stir and Cool: Stir continuously and vigorously with your rubber spatula. The heat from the melted chocolate will melt the seed chocolate, while the seed chocolate will cool down the mixture and introduce stable cocoa butter crystals. Continue stirring until all the seed chocolate has melted and the mixture reaches its ideal working temperature:
*
Dark Chocolate: 88-91°F (31-33°C)
*
Milk/Semi-Sweet Chocolate: 86-88°F (30-31°C)
*
White Chocolate: 84-86°F (29-30°C)
Use your instant-read thermometer to monitor the temperature closely. If a few small pieces of seed chocolate remain and the temperature is right, you can remove them or continue stirring gently until melted.
5.
Test for Temper: Dip the tip of a knife or a piece of parchment paper into the chocolate. If it’s properly tempered, it should set firm and glossy within 3-5 minutes at room temperature. If it remains soft or streaky, continue stirring and allow it to cool slightly more, or re-temper if necessary (though rarely needed with this method).
Dipping and Decorating: Unleash Your Creativity
With your perfectly tempered chocolate ready, the fun part begins!
The Perfect Pretzel: Size and Type Matters
While you can use any pretzel shape, mini pretzels are often favored for their ideal chocolate-to-pretzel ratio and ease of handling. Pretzel rods also offer a great canvas for more elaborate dipping and decorating.
Dipping Techniques for Even Coverage
1.
Work Quickly: Tempered chocolate has a shorter working window than simply melted chocolate, so have everything ready.
2.
Dip and Tap: Hold a pretzel by one end (or use a dipping tool/fork for full coverage). Dip it into the chocolate, ensuring even coating. Gently tap the pretzel against the rim of the bowl to remove excess chocolate. This prevents pooling and ensures a thin, even layer.
3.
Place to Set: Carefully place the dipped pretzel onto your parchment paper or silicone mat.
Endless Customization: Toppings and Flavors
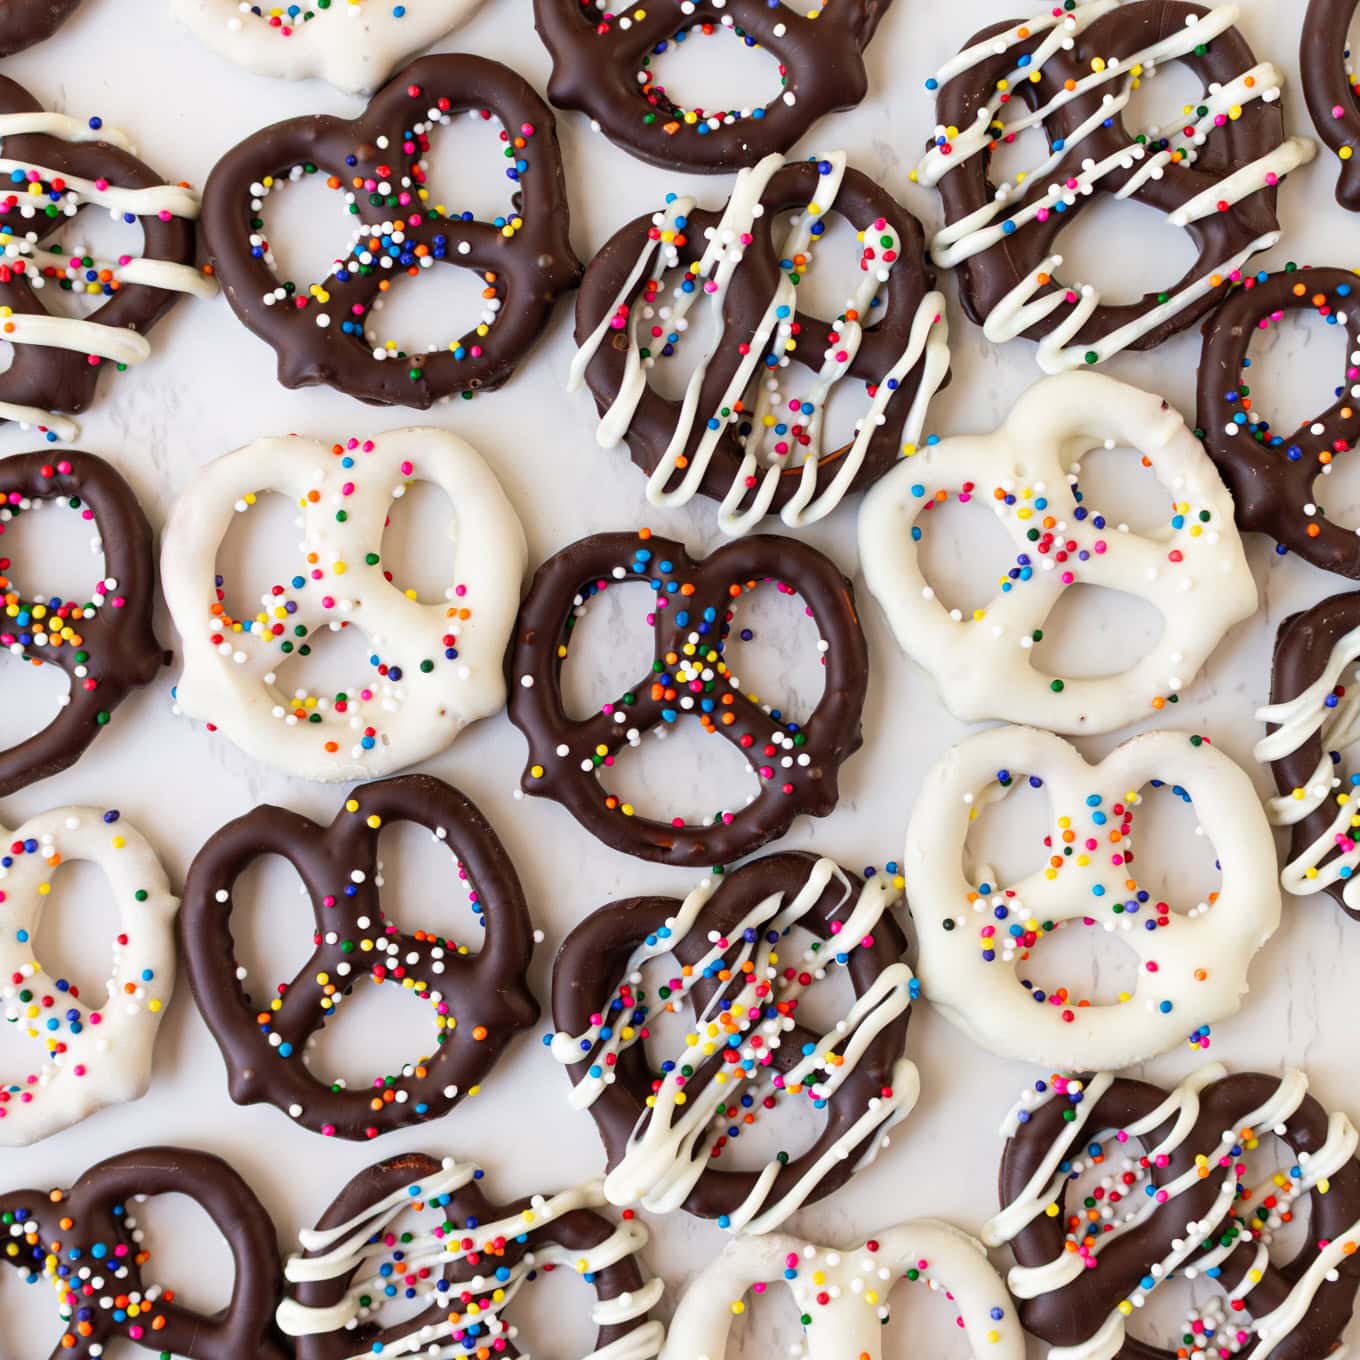
This is where your chocolate covered pretzels become a true reflection of your personality! While the chocolate is still wet, sprinkle on your favorite toppings. The options are truly endless:
*
Classic Sprinkles: Rainbow, chocolate, or seasonal colors.
*
Crushed Nuts: Peanuts, almonds, pecans, or pistachios.
*
Sea Salt: A flaky touch to enhance the sweet-and-salty dynamic.
*
Crushed Candies: Peppermint, M&M’s, crushed Oreos, or Heath bar bits.
*
Coconut Flakes: Toasted or untoasted.
*
Drizzles: Once the first chocolate layer is set, drizzle with a contrasting tempered chocolate (white over dark, or vice versa).
*
Spices: A touch of cinnamon, chili powder, or even espresso powder can add unexpected depth.
For even more inspiring ideas to personalize your sweet and salty creations, be sure to explore our guide on
Easy Chocolate Covered Pretzels: Customize Your Sweet & Salty Treat.
Storage and Serving: Keeping Your Creations Fresh
Once your chocolate covered pretzels have fully set (they should be firm and shiny), store them in an airtight container at cool room temperature for up to two weeks. Avoid refrigerating them if possible, as the condensation can affect the shine and texture of the chocolate. If your home is very warm, a cool pantry or a sealed container in the coolest part of your fridge will work, but allow them to come to room temperature for 10-15 minutes before serving for optimal flavor and snap.
Conclusion
Making perfect, no-fail chocolate covered pretzels is entirely within your reach. The "trick" isn't complicated; it's simply understanding and applying the art of tempering chocolate. By choosing quality ingredients, ensuring a dry environment, and carefully monitoring temperatures, you can consistently achieve that desirable glossy finish, satisfying snap, and stable coating that makes these sweet-and-salty treats truly irresistible. So, arm yourself with a thermometer, grab your favorite chocolate, and get ready to impress yourself and everyone else with your professional-level creations. Happy dipping!